
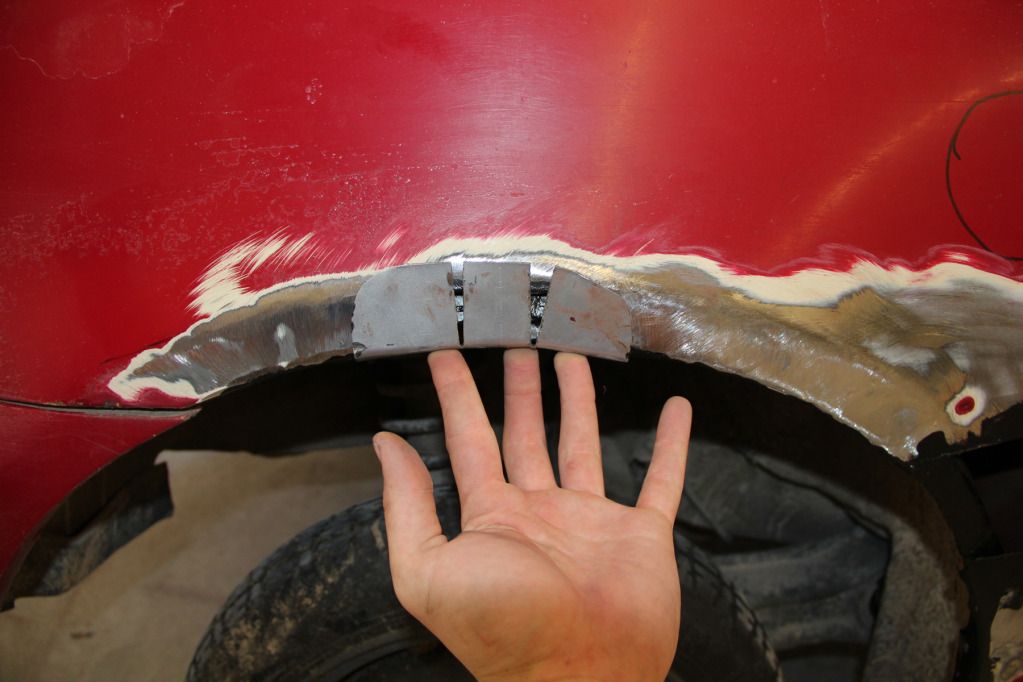
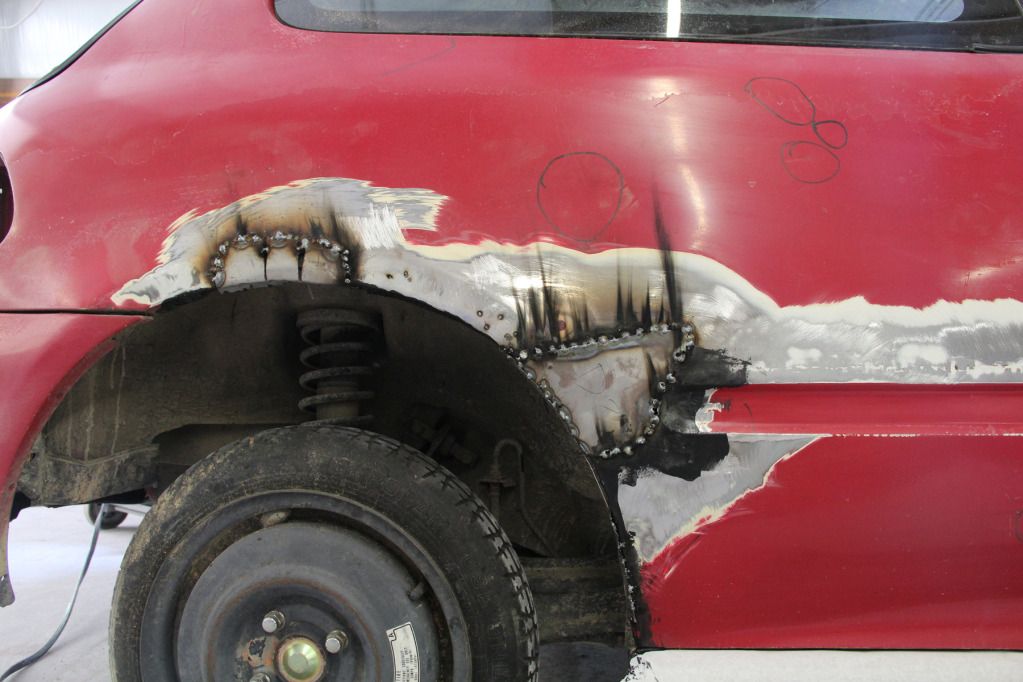
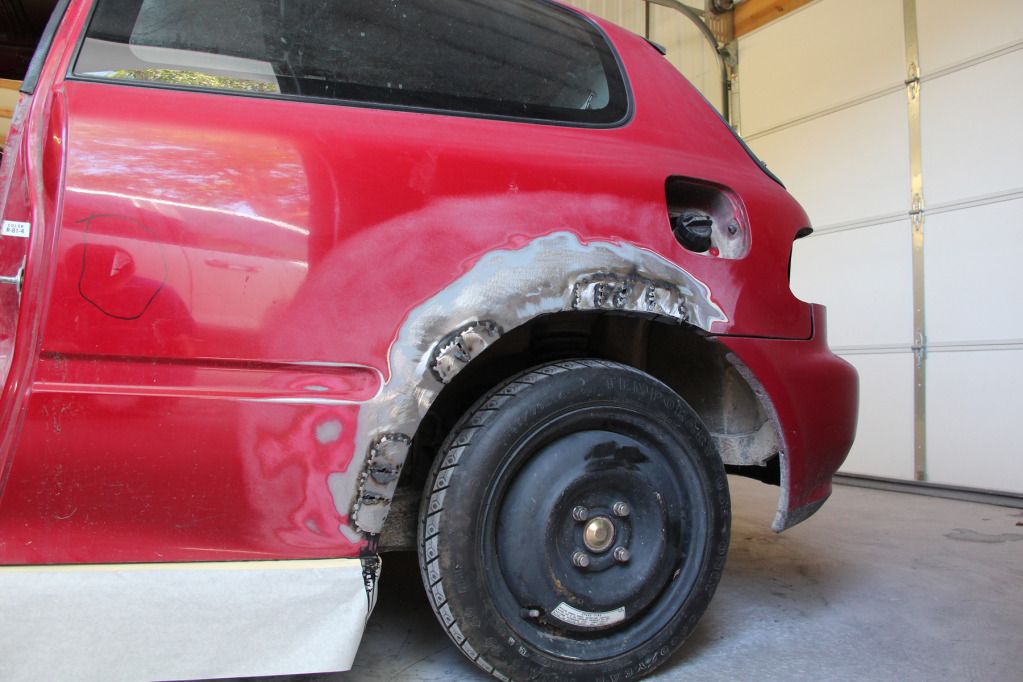
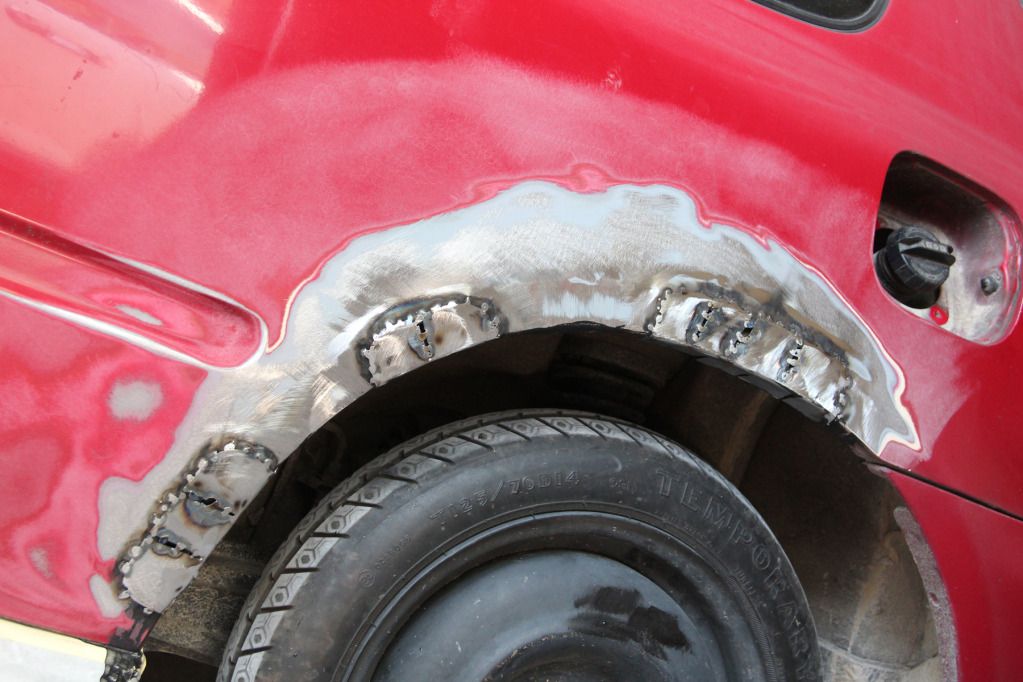
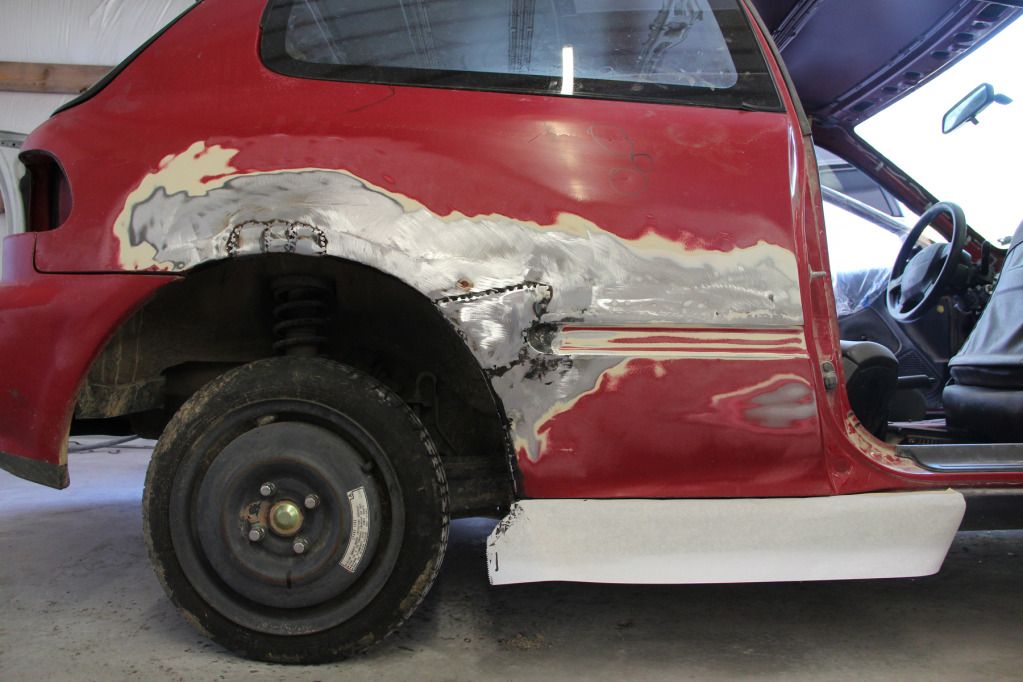
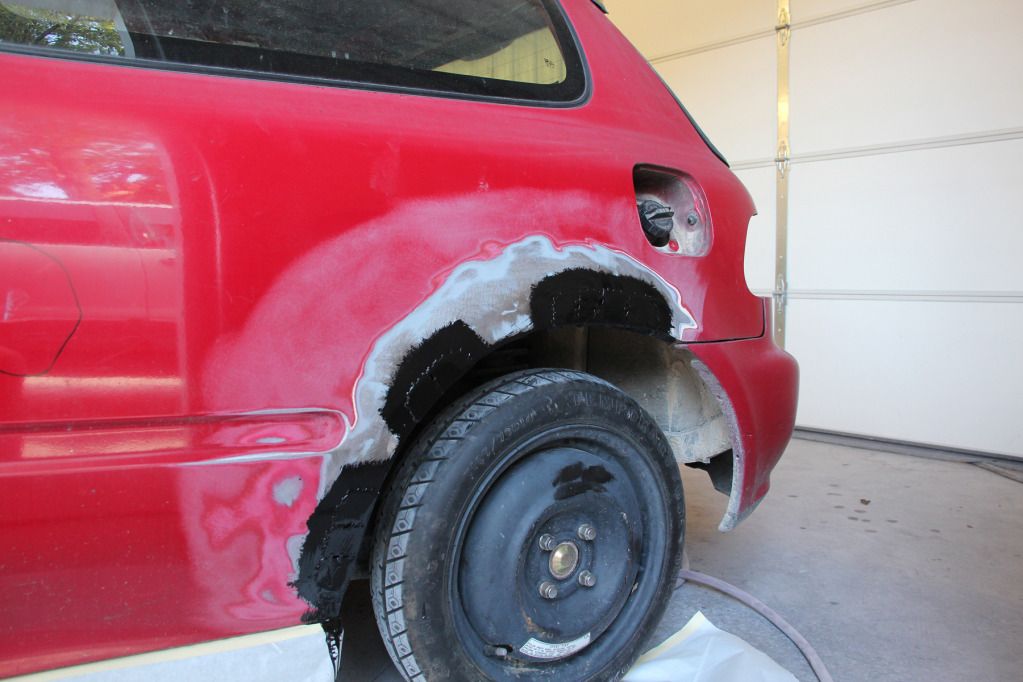
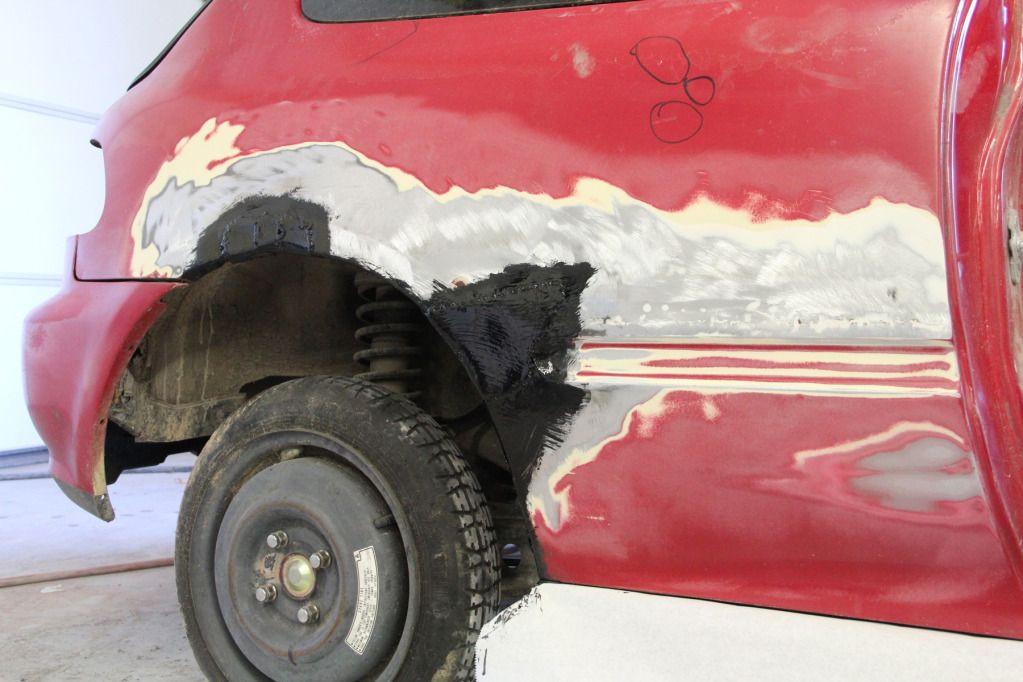
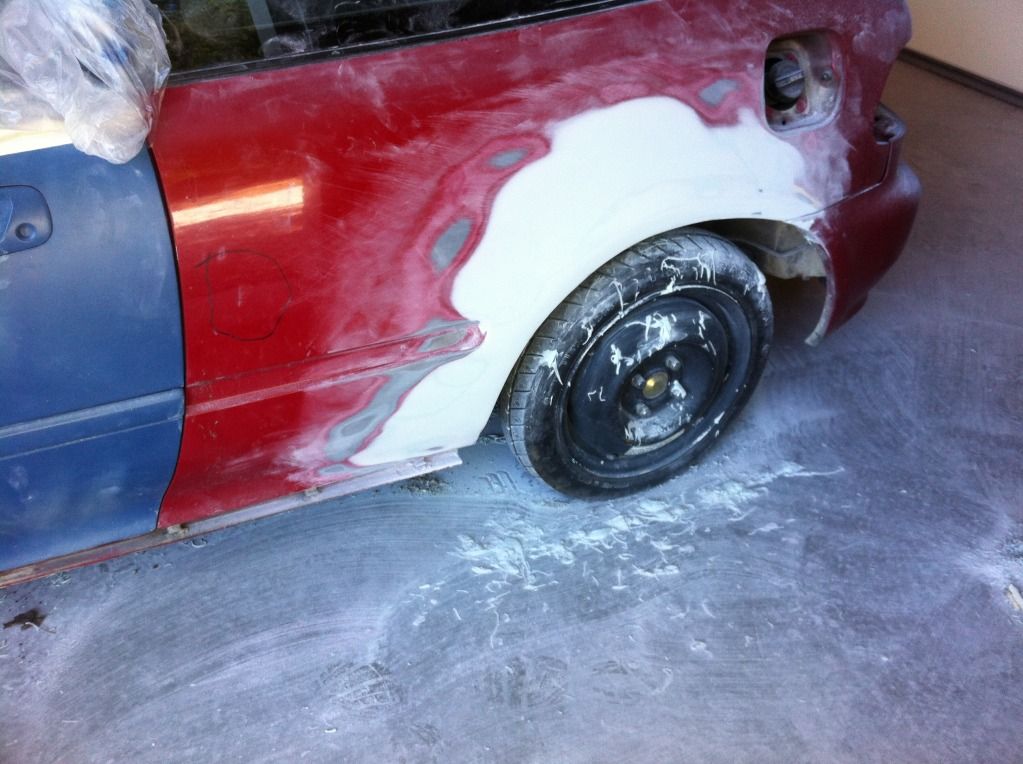
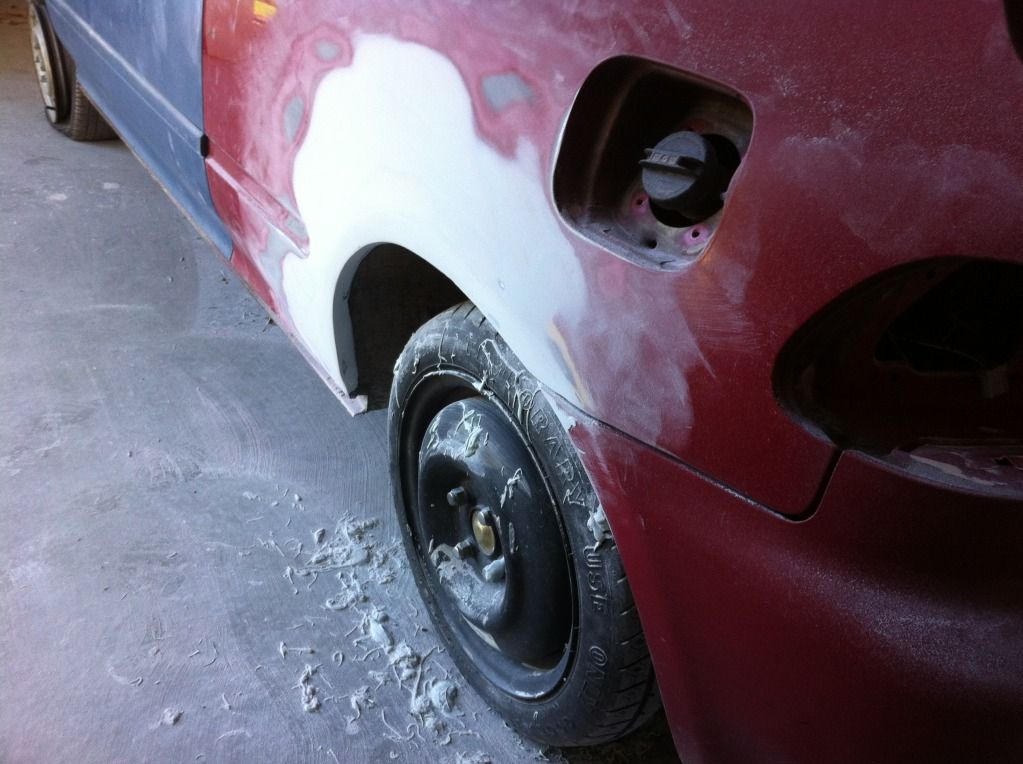
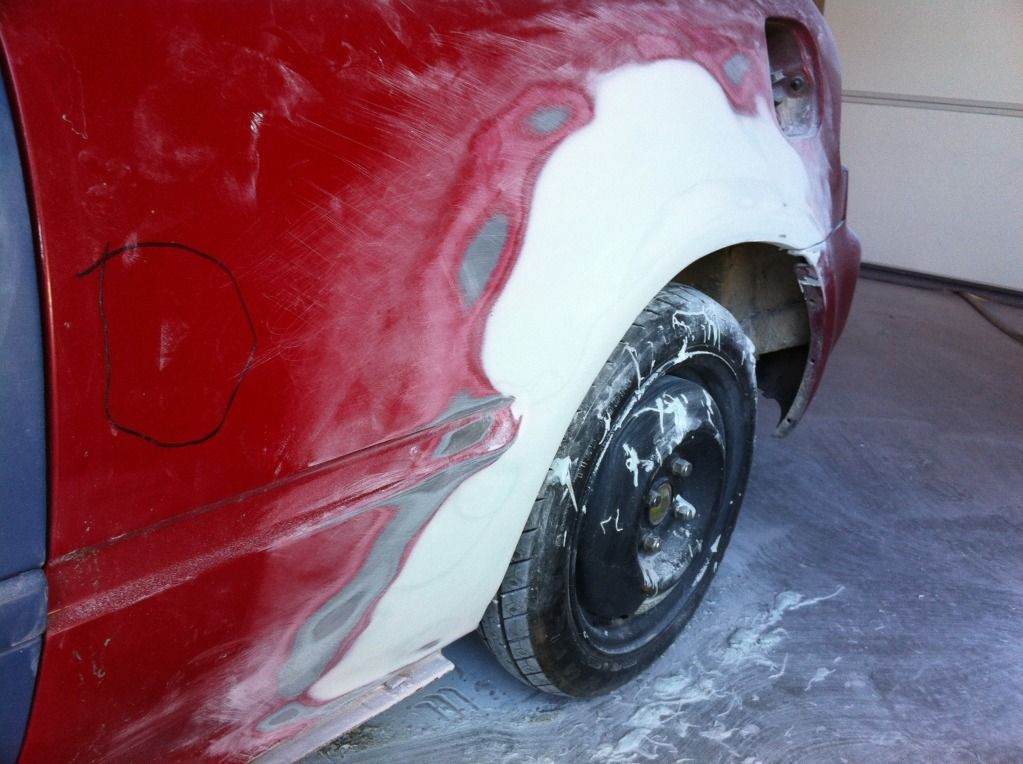
First, I worked more on the rust problem on the rear quarters. I cut new notches in the patches I had made since I cut them on the wrong side last time, then welded them on, ground them down, and coated them in Chassis Saver, being sure to get down behind the patches and in each little gap. You can do body work directly over the Chassis Saver, so without putting new quarters on the car, this is about the best way to seal it all up and hopefully prevent future rust from coming back. The welds are spaced apart to avoid overheating and warping the quarters. I'm also not a welder, so they're not the prettiest things in the world.
[CENTER]
 [/CENTER]
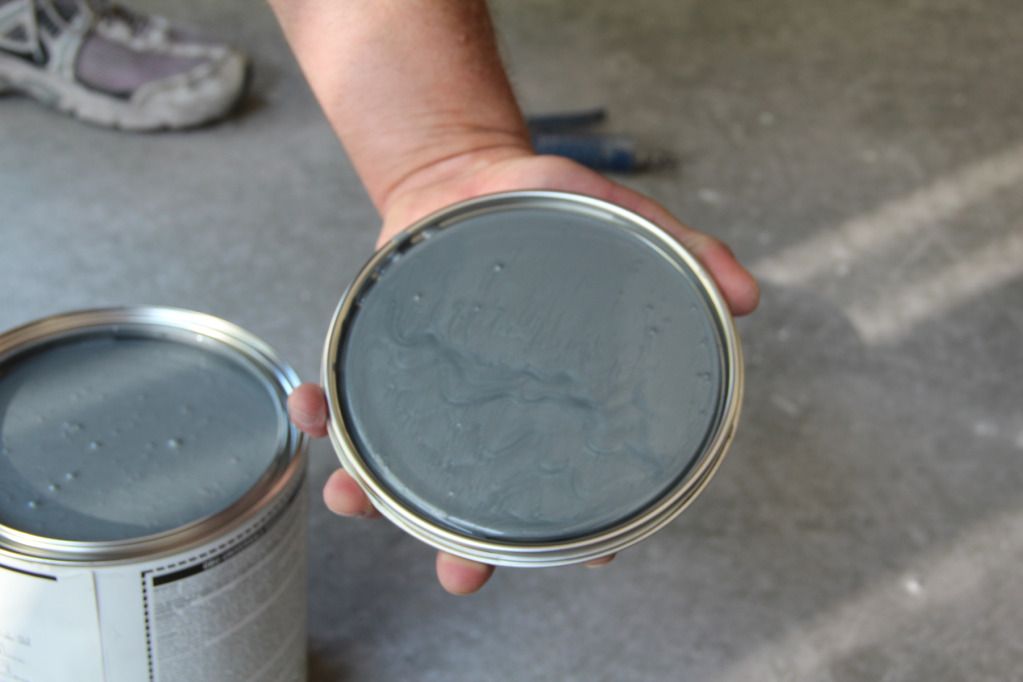
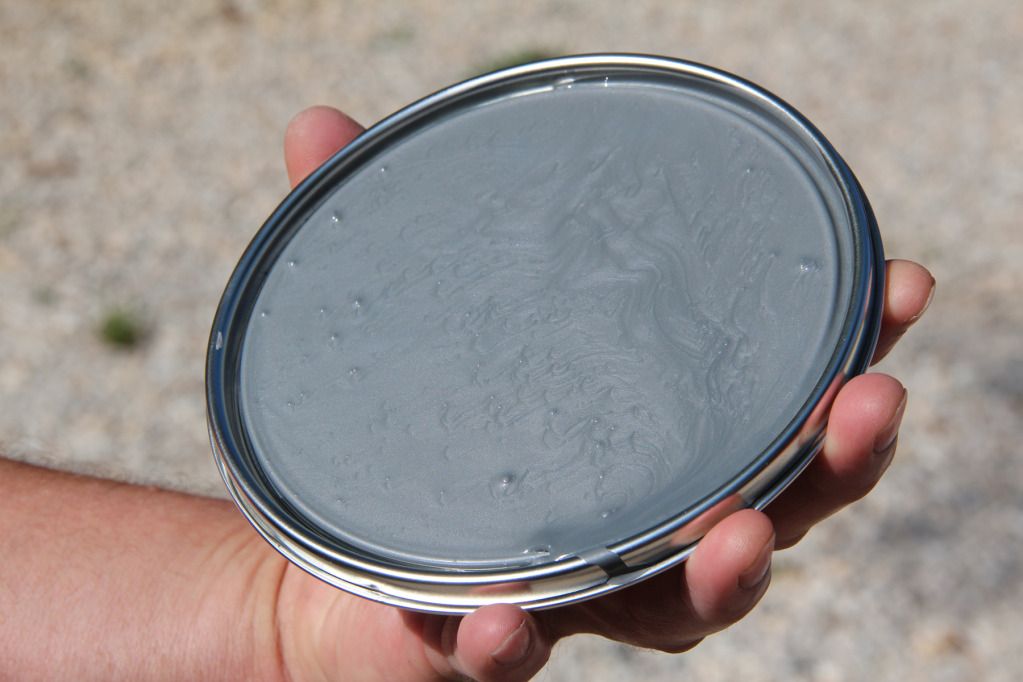
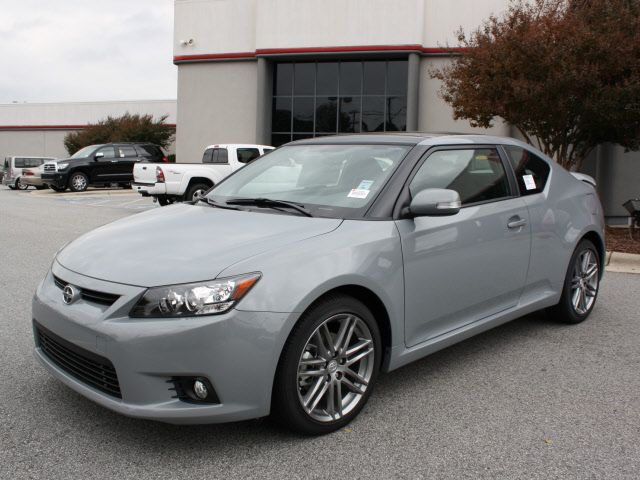
The next time I work on the car, body filler will for sure go on, starting the final steps of getting the rust fixed and the quarters primed. I had to make a few trips to the paint store, so while I was there, I picked up my paint. *Drumroll Please* I'm going with the Scion tC2 Cement color. Paint code 1H5 I believe. It looks silver in the can, but I've attached a photo of a Cement tC2 so you can see the color.
[CENTER]
 [/CENTER]
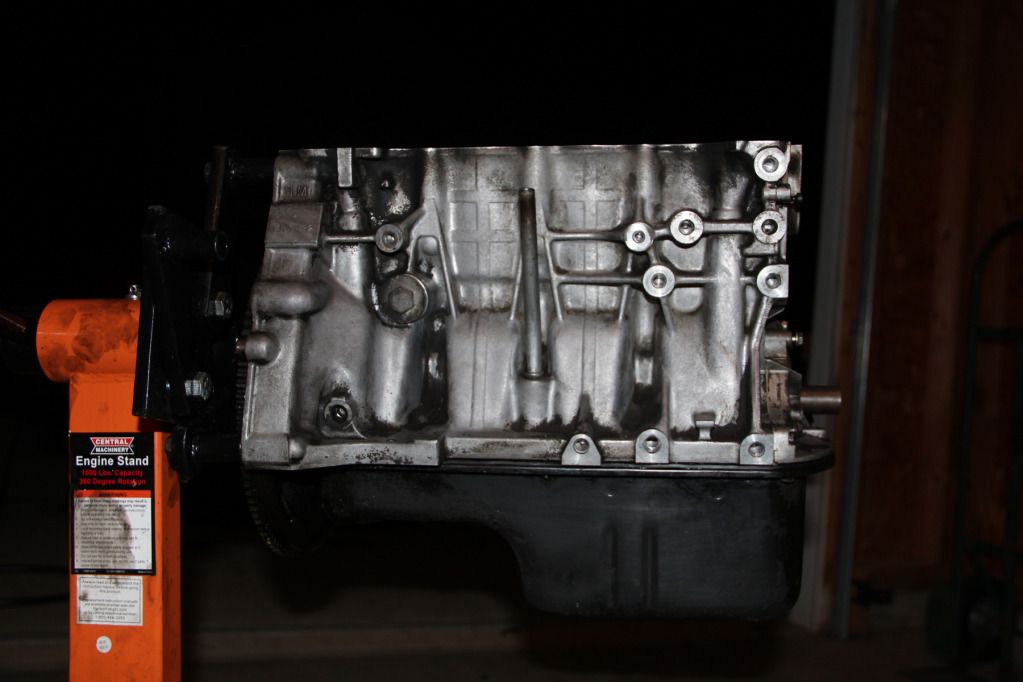
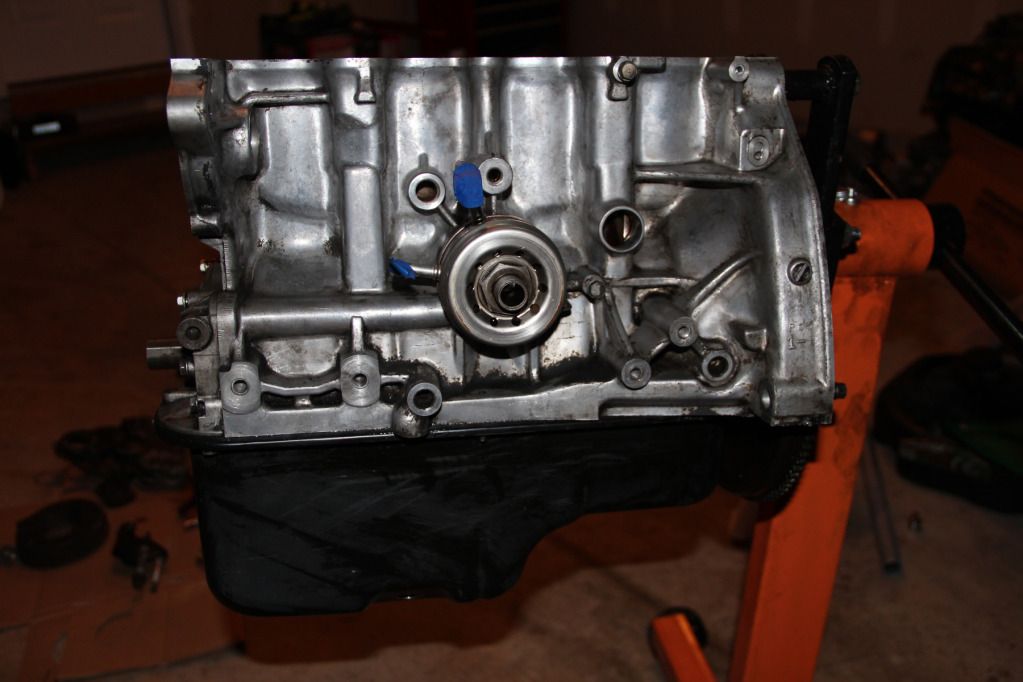
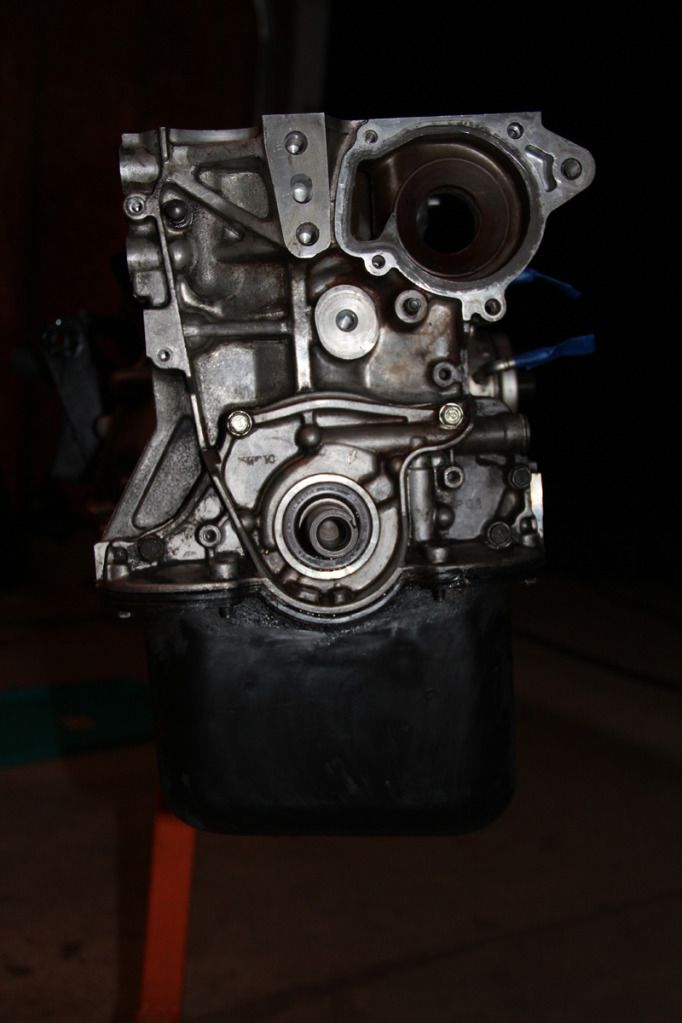
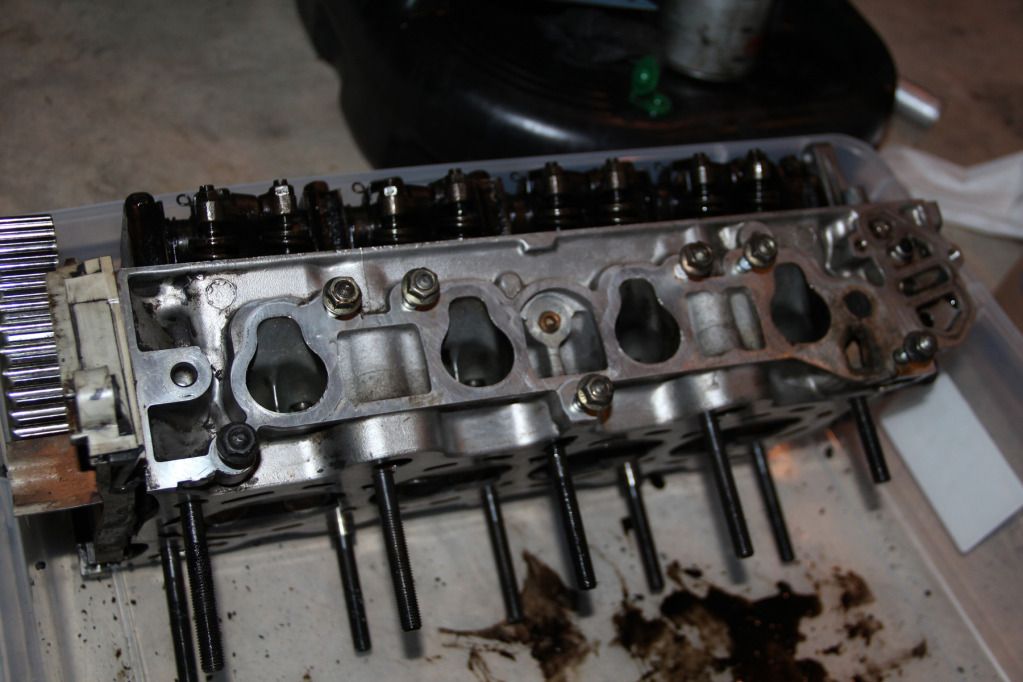
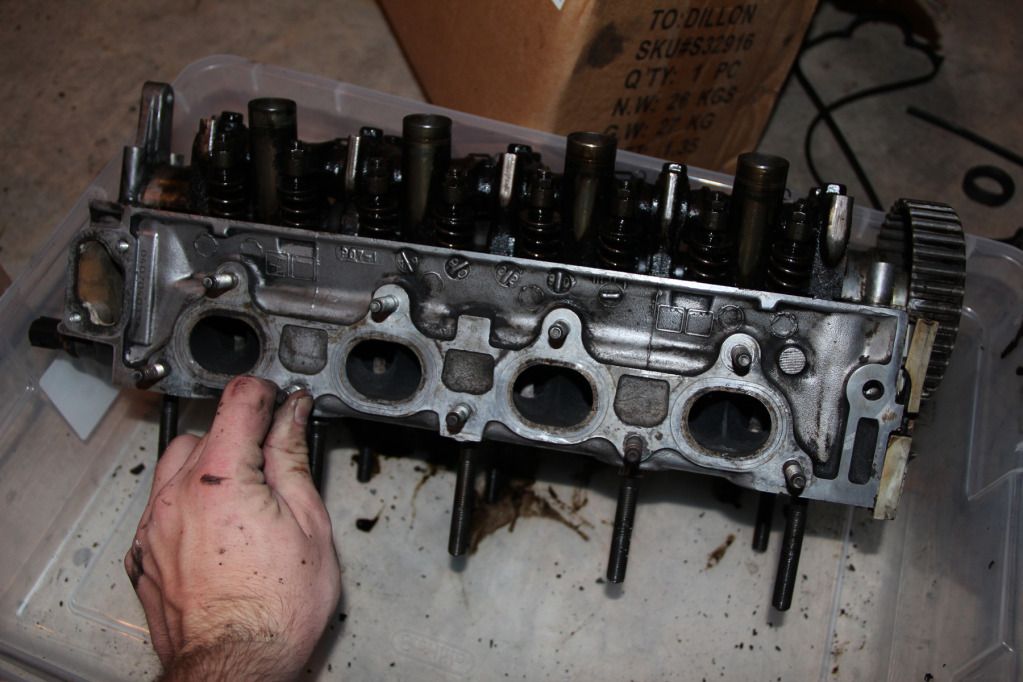
On the engine, I started out with a filthy block, pan, head, etc. So I removed the head per the service manual, and placed it in a clear, plastic container to keep it protected. Then I taped off the cylinder head, as well as everything else potentially important and susceptible to water, and I used degreaser/oven cleaner to clean the outside of the block. I scrubbed it with kitchen scrubbers, then carefully rinsed it off.
[CENTER]Before
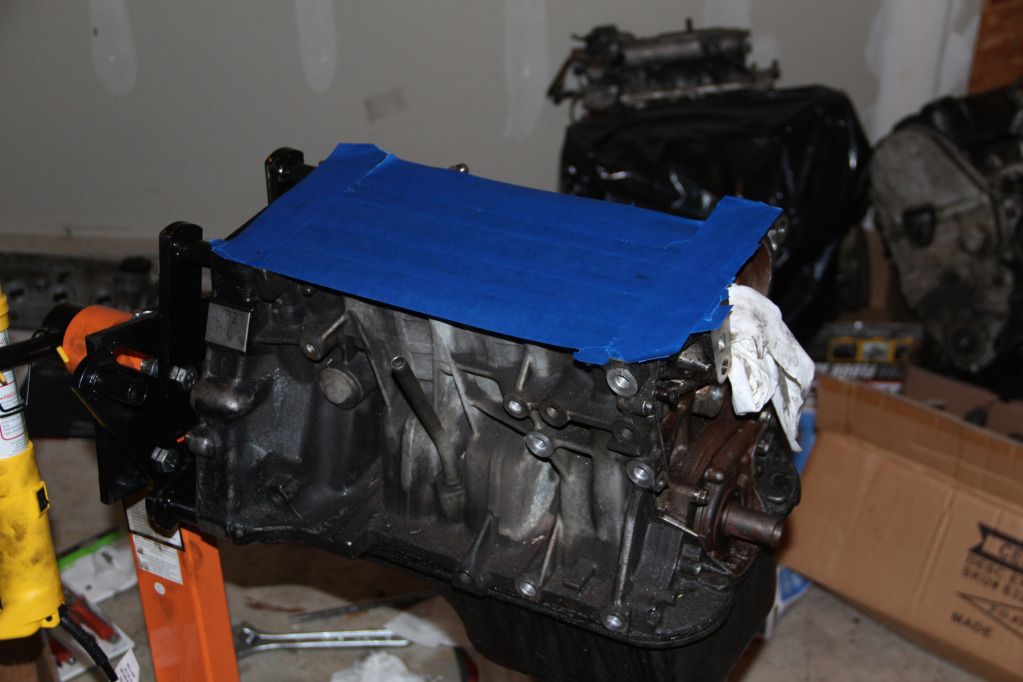
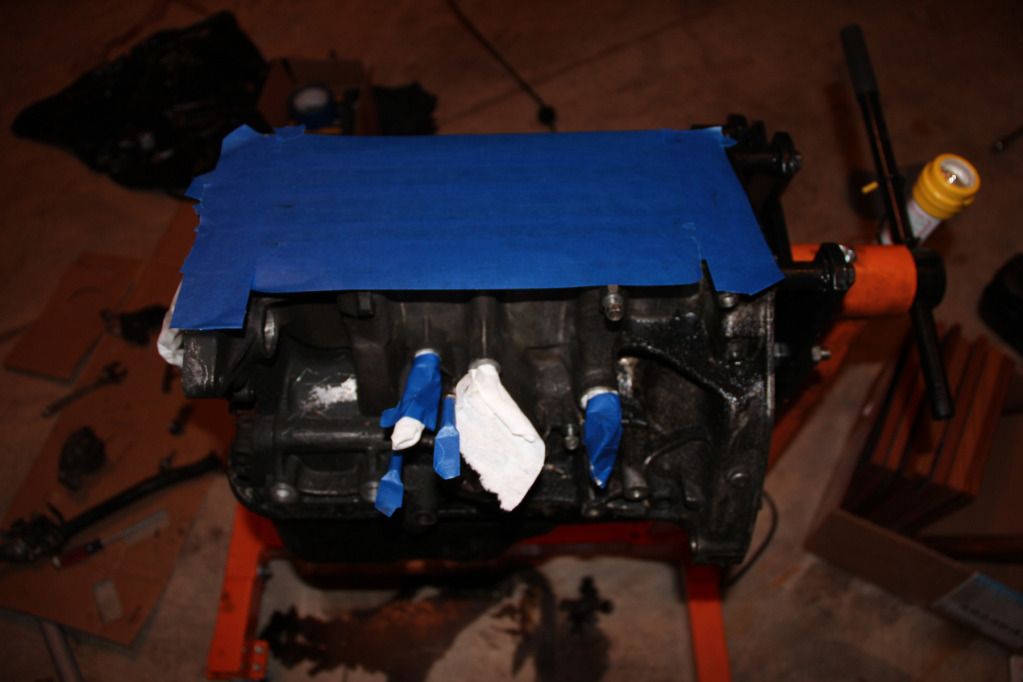
After
 [/CENTER]
I removed the tape and worked for an hour or two with shop towels, wiping it all off and being sure everything was dry, but it still needed some work in the corners and what not, so I used a wire wheel to get back in there and knock off the rest of the gunk. The engine probably lost a pound or two just by cleaning the crap off.
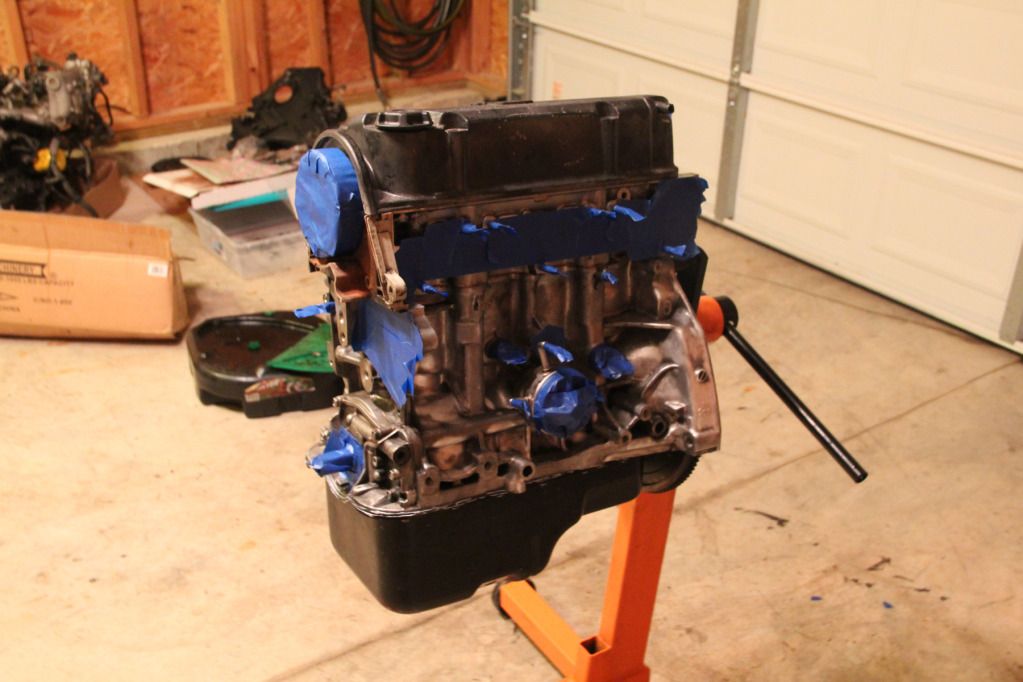
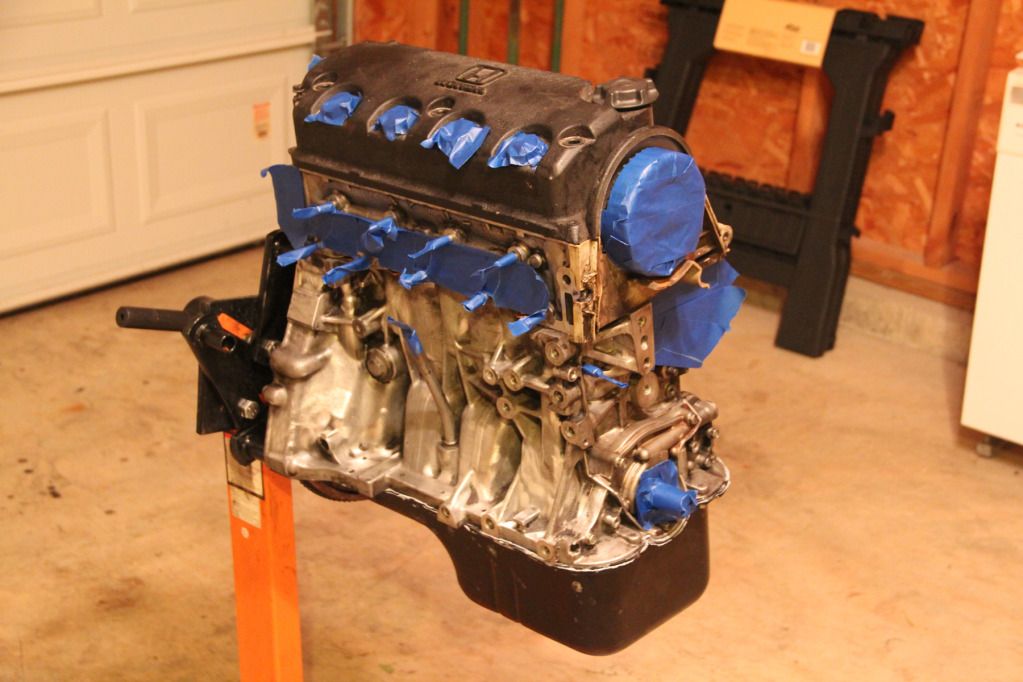
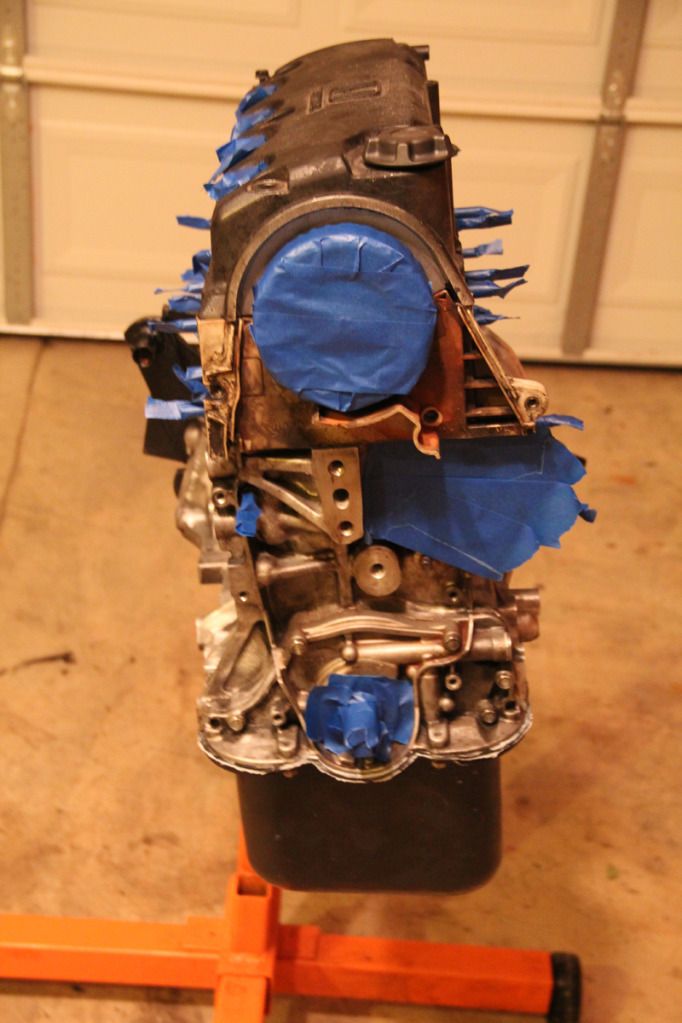
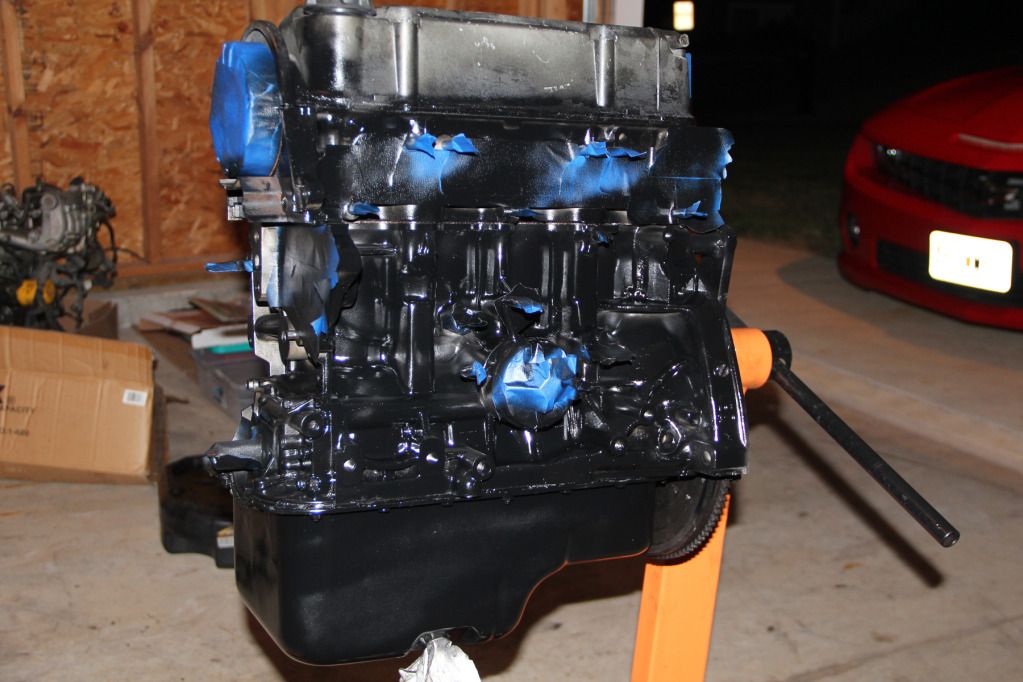
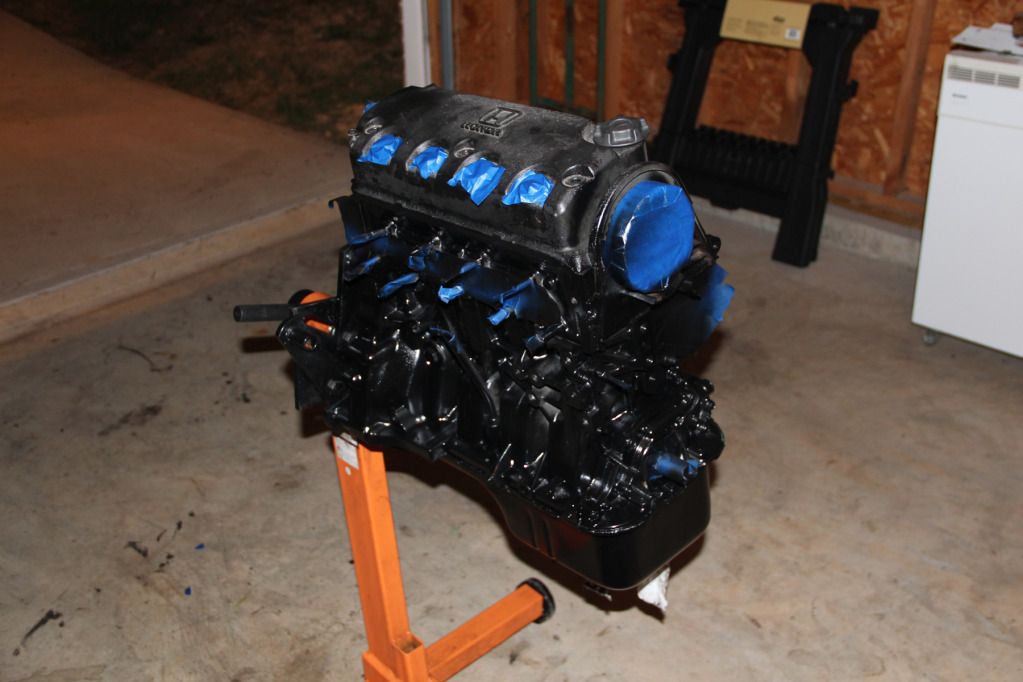
I retaped everything and covered it over night. The next day I pulled the oil pan, scraped off the old gaskets, cleaned the pan a little more, replaced the oil pan gasket, and bolted it back on, per service manual instructions. I also scraped the old gasket material and junk from the head mating surfaces, coated the new head gasket in copper gasket spray, and installed the head. I placed a junk valve cover on the engine, taped everything off really well, and painted the engine.
[CENTER]
 [/CENTER]
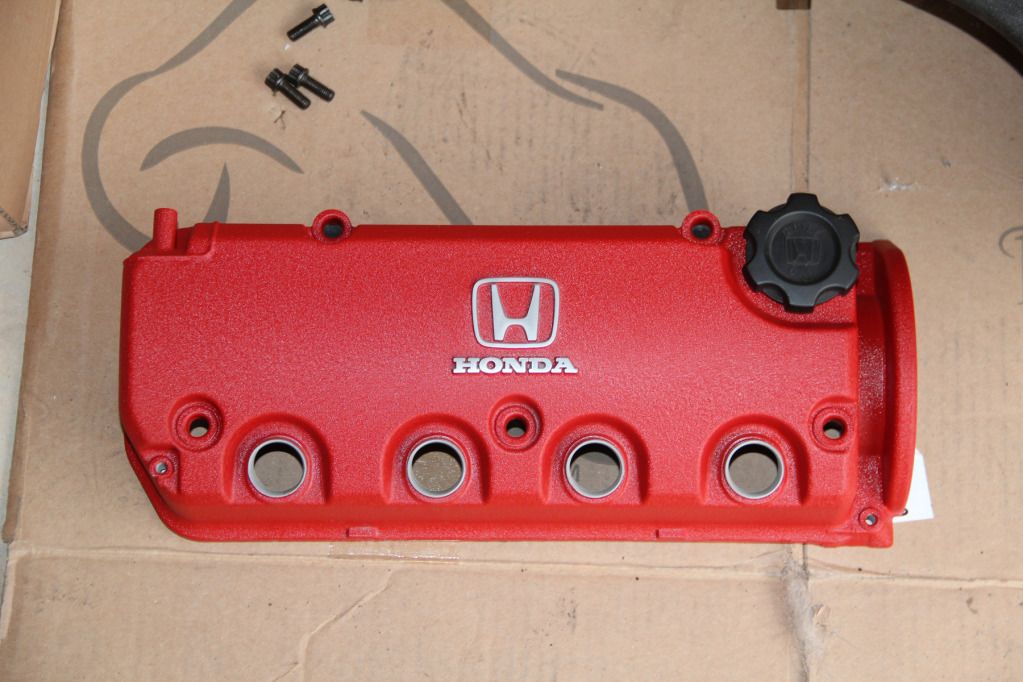
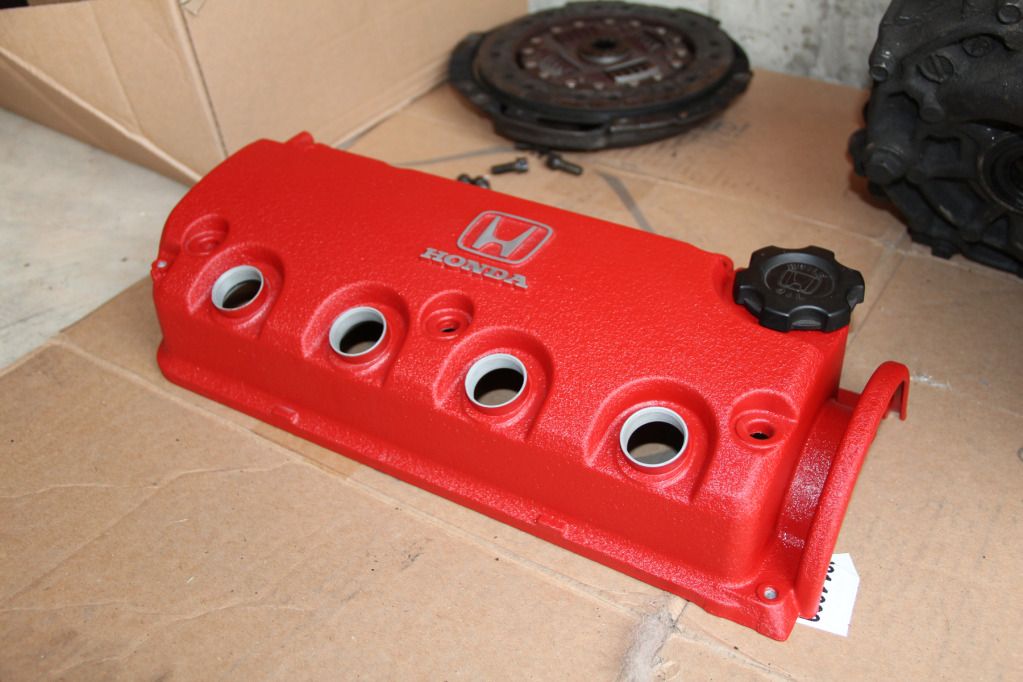
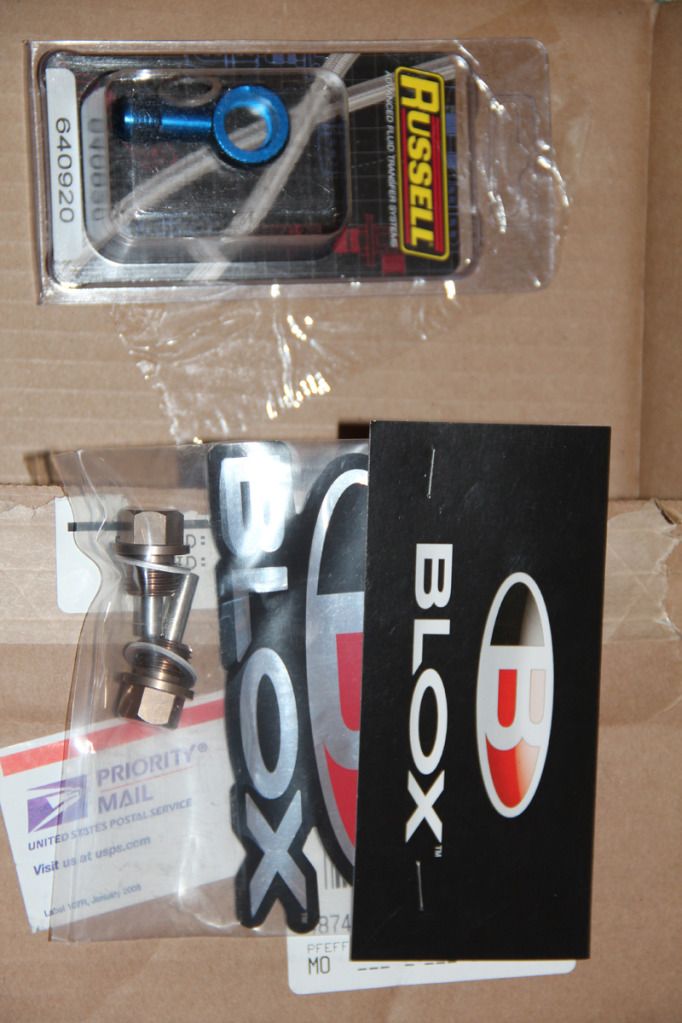
There are spots that look bare, like I missed them with paint, but that's just the flash causing a glare. I let the engine sit overnight to dry before messing with anything. Next step is untaping it all, replacing the water pump, tensioner, timing belt, and timing belt cover. I'll also probably install the new Valve Cover in the near future. Needs to have a new gasket and new spark plug gaskets installed, but I already have those ready to go. This was coated by Gateway Powder Coating in St. Charles. They chemical dipped it, sandblasted it, coated it in Wrinkle Red, and sanded the letters for $75. I'm pretty much in love. The other photo is of the mail I got yesterday. New Blox magnetic plugs for the oil and tranny. And a new fuel fitting so I can do away with the stock fuel filter and mate stainless braided lines to the VX fuel rail. :thumbsup2:
[CENTER]
 [/CENTER]
That's all for now. Hopefully I'll have more photos and updates for everyone soon. I work the next 7 days, then I'm out of town for 2 days, then I work another 7, so I'm not sure when I'll have time to work and post, but I'll do my best. As always, thanks for checking this out!

 [/CENTER]

 [/CENTER]
